Friday, September 30, 2011

Covering up my mistakes!!

Well, here we are on the last day of September! I can't believe how fast time is flying by. I'm very excited about October coming up. It's one of my favourite months, the leaves are starting to turn colour and it's time to cozy up by the fire with a good book or to tuck yourself up in your crafting space and create!

Here's a card I've been meaning to share with you, I really love it and I created it by trying to cover up the couple of mistakes I made!   Can you see them?   If you click on the picture you might find some of them! But mistakes are always...well most always (lol) good, it makes you think of how to save your card and sometimes it turns out better than you expected!

First of all I tore the Newsprint designer paper and layered it on the White cardstock, then I stamped the beautiful wooden bench from 'Have a Seat' over the seam....ugh...it looked awful!  So I ran it through my Vintage Wallpaper Embossing folder and it looked worse!  I ran a light sponge over it all and punched the label to hide the bench. But while I was sponging the embossed background, some of the black ink got on the heel of my hand and made a blotch so I covered it with the birdcage.

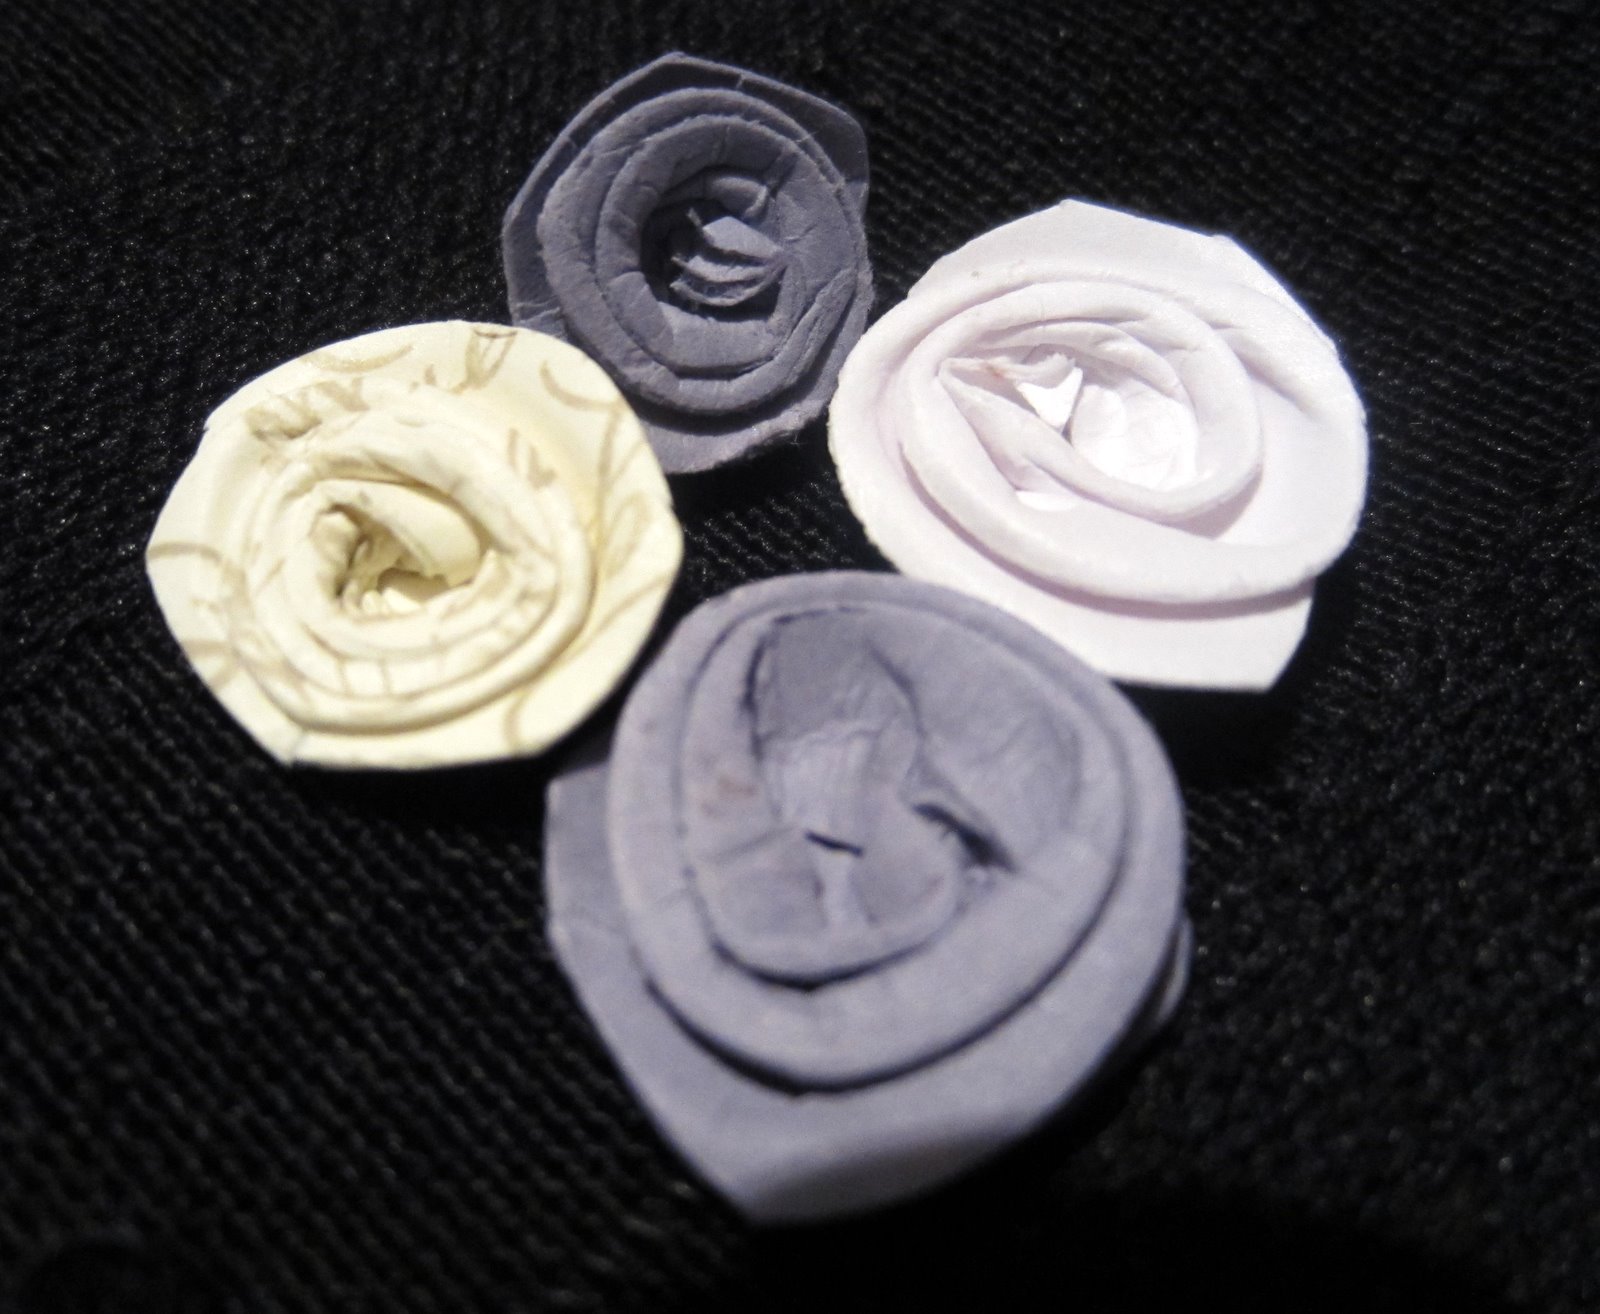
I took out my Fabulous Florets and did the reinker technique. I embossed the flowers in black and coloured them with Cherry Cobble reinker.... but couldn't find my embossing buddy sooo of course I got some black bits inside the flower petals....so I got out my Cherry Cobbler marker and added some details to cover up the black embossing bits...I like it!! 

To finish it up, I added a little red bird to balance the flowers and needed some Little Sizzlet leaves to cover the bench leg that was still sticking out!

I had some trouble with this card but really, really like how it turned out!  Isn't it amazing how you start out going in one direction and all of a sudden you are doing something completely different!  That's what I love about crafting and life...full of surprises...LOL!!

Thanks so much for stopping by and sharing your time with me!  I love it when you have time to visit with me!!

Hugs ~ Judy


Sunday, September 18, 2011

Finally....

Hi everyone! I've had so many lovely comments on the anniversary card I made for my daughter and son in law, I just want to say thank you so much for letting me know how much you liked my card! I love your comments and emails and read every one!

Here's the tutorial on how I made the roses, oh my, I said next week and that was 3 weeks ago...so sorry for the delay!! I started out by quilling the roses from scraps and then when I finished, I realized they wouldn't fit in the envelope and so I had to come up with plan B. My Tombow glue was sitting on my craft table and so I reached for it and here's what happened!


This is a picture of my quilling tools, I got them at my local big craft store, if you can't find any of these little tools near you I'm sure you could make your own by snipping off eye of a tapestry needle and inserting it in a soft wood dowel. Anyway, I found 2 and I gave the blue one to my daughter...mine is the little metal one...I love it!

This sample is Whisper White... I've tried to pick the best pictures that my daughter took while I was making the tutorial!
I punched out circles from scraps, these are really small roses.....this one is Very Vanilla stamped with En Francais background in Crumb Cake. Then I cut the circle in a spiral to the centre...

So I basically cut with my scissors in a spiral, just randomly and left a little piece at the end for a glue dot...this is what it looks like when I'm finished cutting.


I insert my quilling tool on the very tip of the outside edge and start to roll.....

and roll.......

and roll.....


When I'm finished rolling it all up, I let it rest on my finger tip to let it relax and unroll just a bit ...


Then I place a glue dot on the end....

And press it gently so that it catches the rolled layers of the flower at the base.

 
This is what it looks like....pretty eh?

This is me looking at it and thinking that it's going to be a very lumpy envelope.....oh and also a very unattractive picture of my fingernail...it got smashed in a door years ago when the wind caught it just as my son (who was about 3) was running through it....so I of course put my hand out to stop the door from slamming on him...it slammed on my finger instead!


And here is where I spotted my Tombow and thought hmmmmmm....


Here's me really applying pressure with the bottom of the tombow to smash my pretty rose....


And here....gasp....the reveal!! I love it....I think it's beautiful and it will fit into the envelope as well!


This is a picture of a 3/4" Wisteria Wonder smashed rose...it's pretty just as it is or would be lovely with a dab of Dazzling Details, or Dazzling Diamonds or even a pearl in the centre.


This is just to show you the two sizes I used for the anniversary card and of course those roses were all in white. You could make them any size but the bigger the circle the bigger the smashing tool would be...even the bottom of a jar would work great.


And since this is such a long tutorial...what the heck....I'm including a close up picture of the finished rose that's got the En Francais script stamped on it...so pretty!


And to finish, I' m including a picture of a little grouping of my smashed roses, as you can see they turn out a little different every time! I hope you like them and enjoyed my long tutorial and hope you try to make some too...don't throw out your scraps...they are perfect for making these little gems!
Thanks so much for stopping by and sharing your time with me!
Hugs ~ Judy