Before we start the tutorial, this picture shows what the bottom of your box will look like...nice and flat!

Nothing makes me crazier than a pretty box that wobbles and won't sit properly!

Step 1. Starting with your box facing up, place your ribbon across it, making sure you have a good length that is extra. That would be the cut end we're talking about and if you look close at the picture, I don't cut the ribbon first, I work straight from the roll of ribbon. If you don't have enough, don't worry, start again and you haven't wasted any! Just run the iron over your ribbon and it's good as new.
Step 2. Bring your ribbon right around the bottom and back up to the top of your box


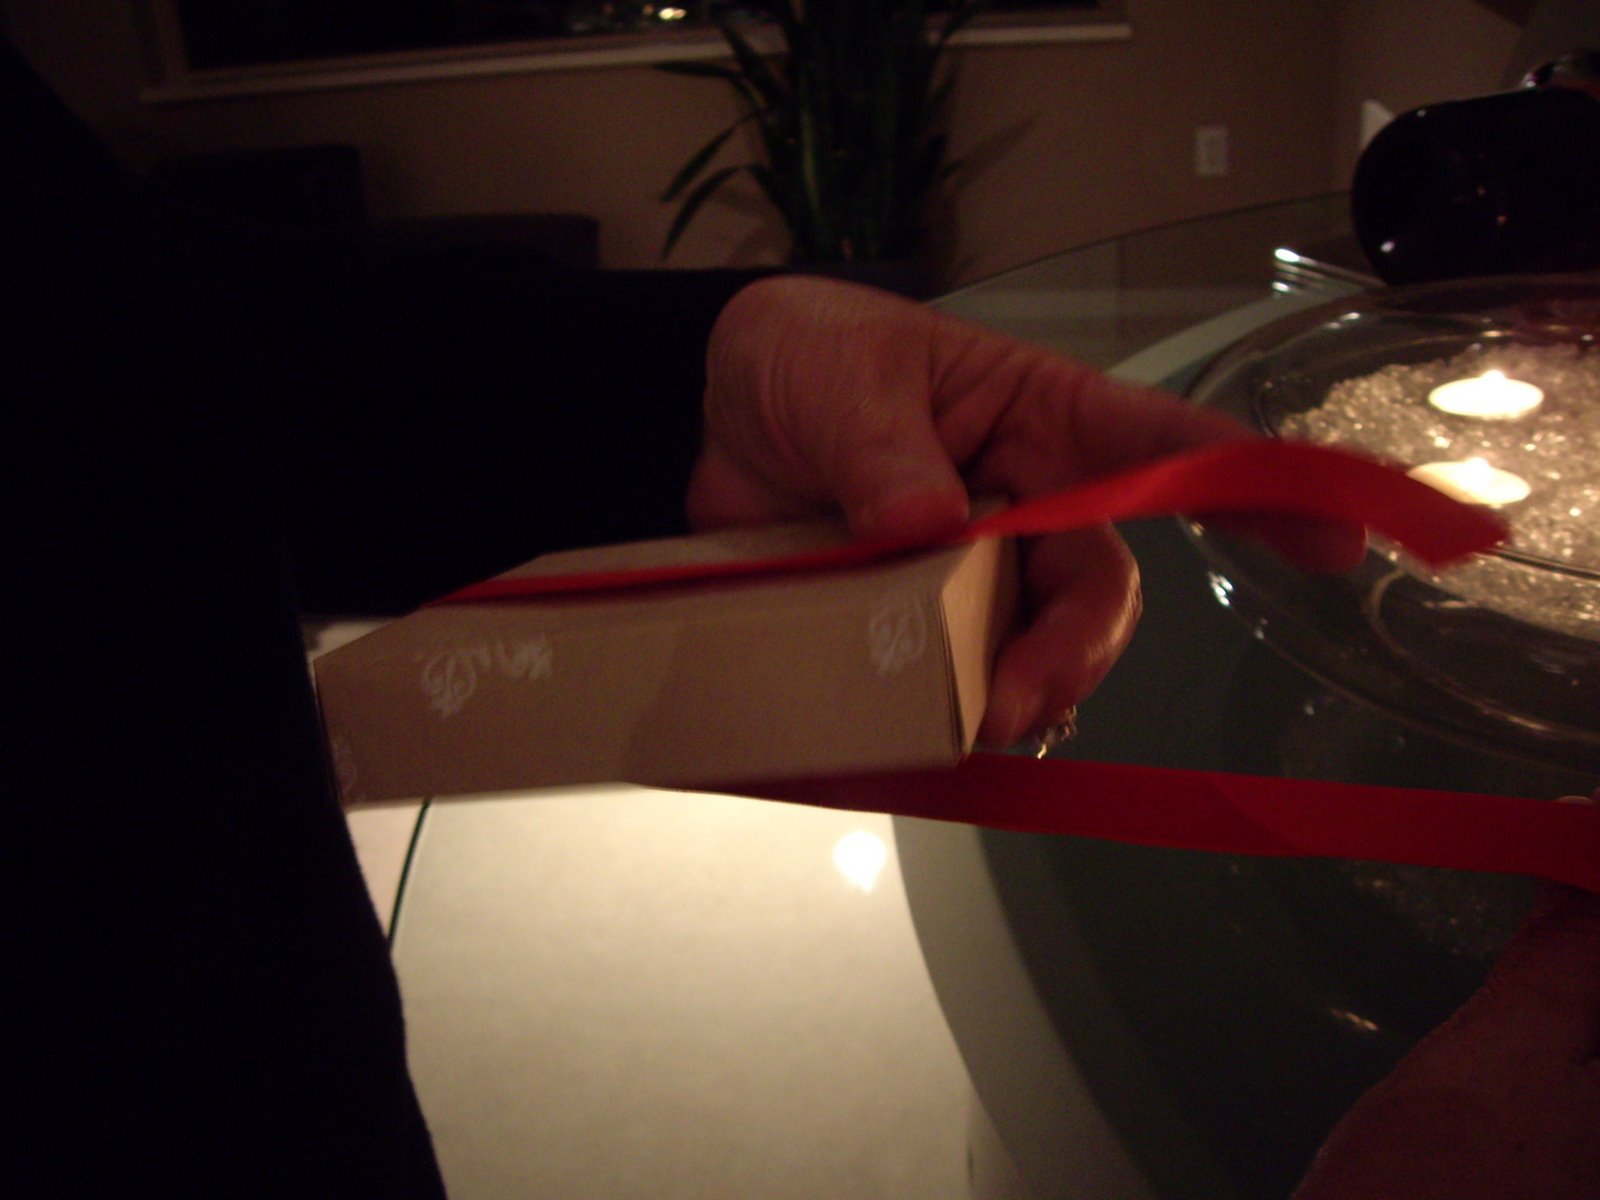
Step 3. Still holding the length that is off the box, twist the ribbons together and take the end thats still attached to the roll and bring it around the sides and back up to the top again.

Step 4. When you come back around the back you will just cross over the first ribbon, making a flat bottom.

Step 5. Bring your ribbon back to the top and loop the cut piece around the uncut piece

Step 6. Tie your bow

Step 7. This is where I play around with the bow, making sure the loops are just the way I want them to be. All you have to do is trim the end of the ribbon and there you have it, a beautiful flat bottomed non wiggly package.
I hope you enjoyed this tutorial! Have fun making these!
Judy


No comments:
Post a Comment